Notes
Follow me on Facebook! http://www.facebook.com/crystalcosfx
Costume made by me, sponsored by http://www.firefallthegame.com/
Carnifex pistol loaned from http://www.facebook.com/
wmarmory
Resources
HD References http://troodon80.deviantart.com/
Narayas' ME2 Armor Patterns http://www.julianbeek.nl/blog/
Volpin Props' ME2 Armor Build http://www.volpinprops.com/n7-armor-dragoncon-2010-recap/
Evil FX's ME2 Armor Build http://bioweapons.wordpress.com/tag/n7-armor/
Armor Construction
Note: Closeups were mostly done after wearing it, so there's a bit of crazing!
First of all, I had to have patterns to work from. Narayas' patterns were based off of ME2, but came with an amazing sizing guide, so I used those as a starting point. While some pieces are too different between games and have to be scratch patterned, most of the pattern pieces still use the basic shape. I just redrew all of the details onto the base patterns I was using, and added taped extra paper onto pattern pieces that needed to have their proportions changed.
Most of my technique I learned from the many N7 armor builders before me, especially Volpin and EvilFX, linked above. Their builds are very helpful. I used a mix of .5" EVA foam floor mats (available at Lowe's/Home Depot), 6mm EVA foam (from Michael's), and craft foam (also from Michael's). In addition, I used a large sheet of 6mm EVA foam that I got online for the calf armor and shoes, but it was crappy so I won't link it here. When using the foam floor mats, I never used the textured side. In addition, to make the armor more flattering, I only used the thickest foam on the back/front piece, the bicep armor, the thighs, and the elbow and partial knee armor.
After cutting out the foam shapes for the armor, I used a heat gun to shape the foam. You can use a form to shape it, but I found I got the best results just curving it in as much as I could. To adhere pieces together, I used super glue and hot glue. Despite my typical aversion to hot glue, it worked pretty fantastically, especially when two edges of the foam have to meet. Areas with flanges were carefully dremeled down to reduce thickness, and a layer of craft foam was laid on top for smoothness. All of the detail grooves were done with a dremel cutting tool.
The one piece of my armor that wasn't foam was the breastplate. I tried using Evil FX's method, and while his looks great, it wasn't working right for me. Instead, I sculpted the bust in Monster Clay, used gelcoat and fiberglass to mold it, and did the final pull in shore grade 60 urethane rubber. I also added a few layers of fiberglass cloth into the cast for rigidity.
Armor Painting
While I'm really happy with my painting technique, it's certainly very expensive and kind of complicated. First off, everything got coated with Plastidip to seal it. I had black nails for weeks!
Then everything was painted silver. I then masked off the "smooth" parts of the armor so that only the areas that had that reflective texture showed. I placed a screen on top and painted it black. Then everything was unmasked and coated in a thin layer of black. Finally, I got to the weathering! I used black acrylics in the grooves, seams, and edges, and then wiped them partially off. I also added "dirt streaks" with the black and damp paper towels. I then grabbed some silver paint and did all the highlights on the raised portions and edges, along with some damage streaks. In my opinion, it's better to exaggerate a bit on the painting. In a full body photo, everything tends to get blended together and washed out. It's the same concept as makeup for photos!
One note I'd like to make is that URETHANE IS TERRIBLE TO PAINT. I had to do the same method on the urethane bust for uniformity, but the paint just kept peeling off when I removed the masking tape. In the end I was just sure to be VERY careful when handling the bust, and it wasn't damaged during wear, thank goodness.
Armor Assembling
Pretty much everything is held together with buckles and Velcro. The entire costume is modular, which makes it pretty easy to get on and off. Even the stomach plate and back plate attach to the other pieces with Velcro! The only exception is the calf armor, which closes with zippers. When gluing straps and Velcro to the foam, I had the best luck with hot glue; super glue and contact cement didn't work out for me this time. I hear barge is best, but I've yet to get some.
The fabric between the upper and lower thigh armor is a thick corduroy, and the thigh armor was mounted onto neoprene.
Undersuit
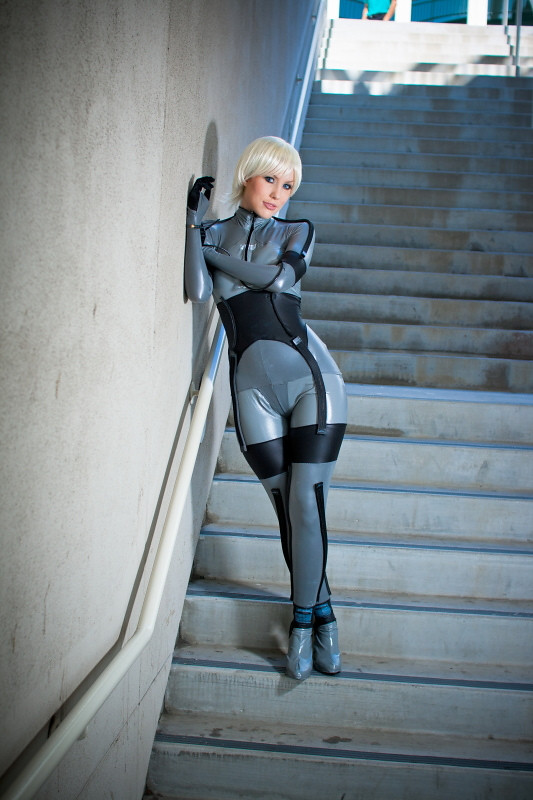
The undersuit was made from custom printed lycra. I pulled the design right from a game model and made it repeatable. Expensive, but worth it! Construction wise, it's a simple front-zip bodysuit with a black collar closed with Velcro. The fact that the upper chest was easy to open was great when I was feeling hot! The bum armor plates were simply glued in place with contact cement, while I was wearing the suit. This was a very special experience.
For my first full suit of armor, I'm really satisfied with it. Shepard is one of my favorite female video game characters: she's strong, she's badass, and she's sexy, all while being fully armored head to toe!


